Picture this: You work your butt off creating a beautiful presentation—the design is on point, the content is highly valuable, and the images are striking. Since you’re proud of your hard work, you go to share it with some folks only to be met with an error message because your presentation is too damn big to do anything with it.
So, what do you do?
Well, you can pitch the whole thing, cry, and start over; or, you can make the file size of your presentation much smaller and say goodbye to your woes for good.
At first thought, shrinking the file size of your entire presentation might seem a little overwhelming if you’ve never done it before, but it’s actually incredibly simple and straightforward.
Typically, the items in your presentation that are taking up the most space are your images, so all you have to do to reduce your overall file size is compress those images.
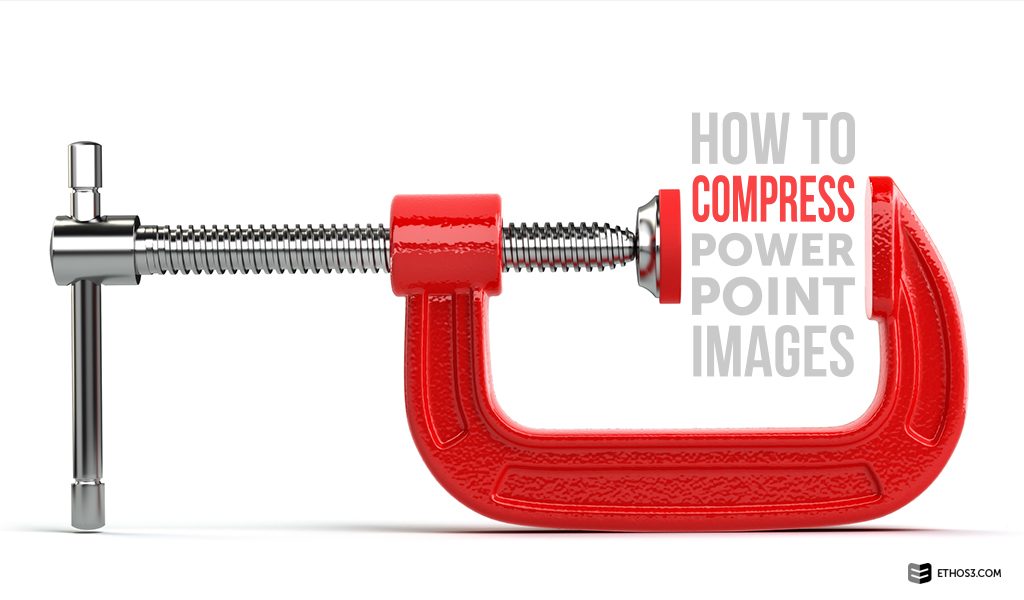
This is how to do that in five easy steps:
Step 1: Select the image you want to compress by holding SHIFT then clicking the image
Step 2: On the Picture Format tab click Compress Pictures
Step 3: Select the appropriate quality depending on your presentation goals
Step 4: Select whether you want to compress Selected pictures only or All pictures in this file. The latter will compress all of the images in your presentation.
Step 5: Pat yourself on the back because you just made your presentation a whole lot more manageable.
Looking for hands-on help with your next presentation? Then check out Ethos3’s comprehensive presentation design services.
