You are in charge of creating a series of PowerPoint presentations for a new project. You know you can hand each presentation out to your team, but you fear they will lack consistency. A branded PowerPoint template can save you a lot of time keep the look and feel the same. You can also create a branded template by altering an already existing templates. This step-by-step PowerPoint tutorial will show you how.
PowerPoint Tutorial: How to Make a Branded PowerPoint Template
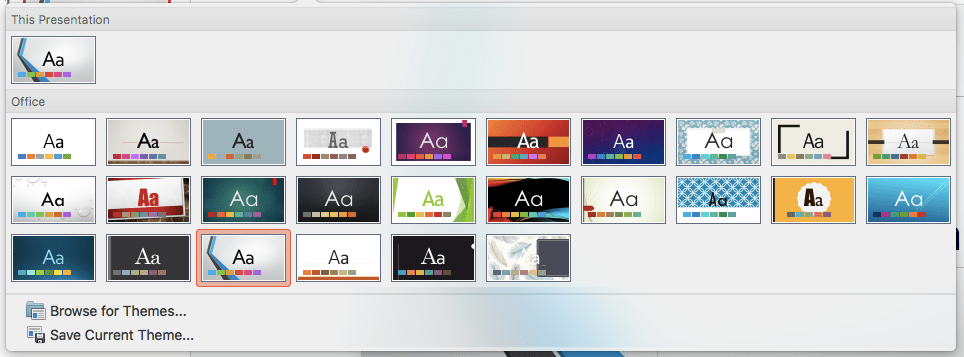
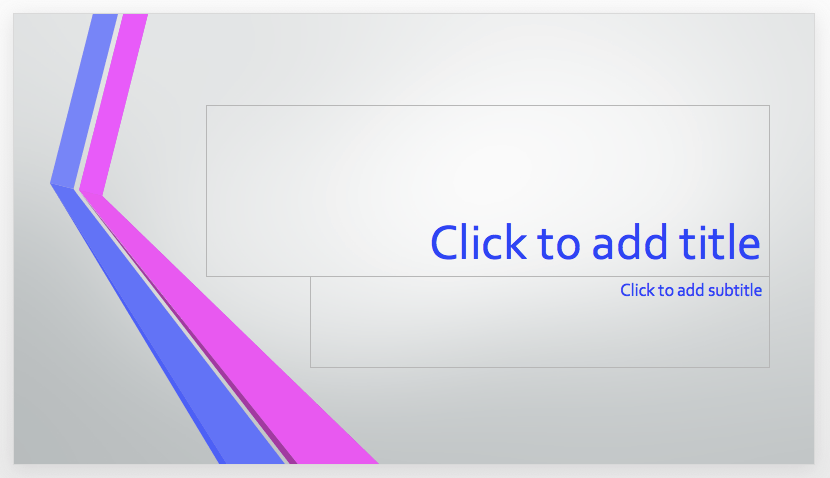
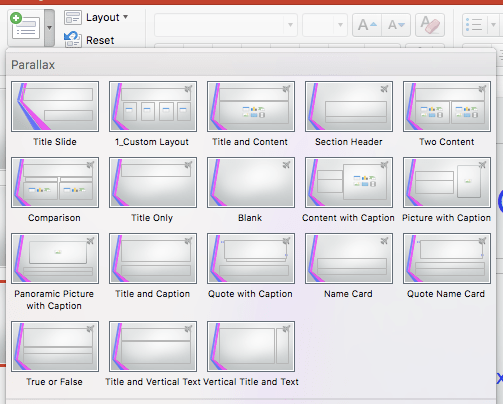
Open a blank presentation in PowerPoint and click on the Design tab. You will see all the different themes that are included in PowerPoint. With all of these themes, you can change the colors and fonts and add images. So, select the theme you want to redesign. For this tutorial, I am using the Parallax theme.

Color Scheme
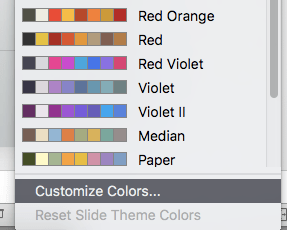
To change the color of your theme, hover over the second panel until a drop-down arrow appears. Select the Colors toolbar and a variety of color options will appear. If one of these sets matches your branding, then you are all set. If you need to make your own color scheme, there’s a way to do that.

At the very bottom of the color scheme list, you’ll see a Customize Colors option. Select that and begin creating a color scheme that fits your brand.

Here you can title your new color scheme and change all the colors for the text, background, accents, and links. If you need to find a specific color, you have a couple options. Let’s say you want to change the color for first Text/Background color. Select that box and you will see the options appear in a pop-up window.
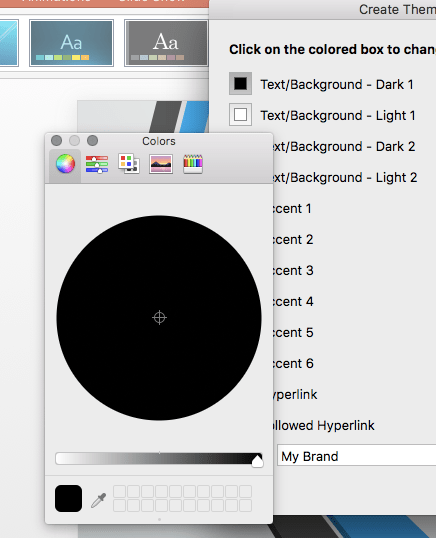
The first option is the ink blotter. This tool works great if you already have an image of the color scheme for your brand. By selecting the ink blotter tool, you can hold it over any image on your computer to capture and save the color to your Custom Colors.
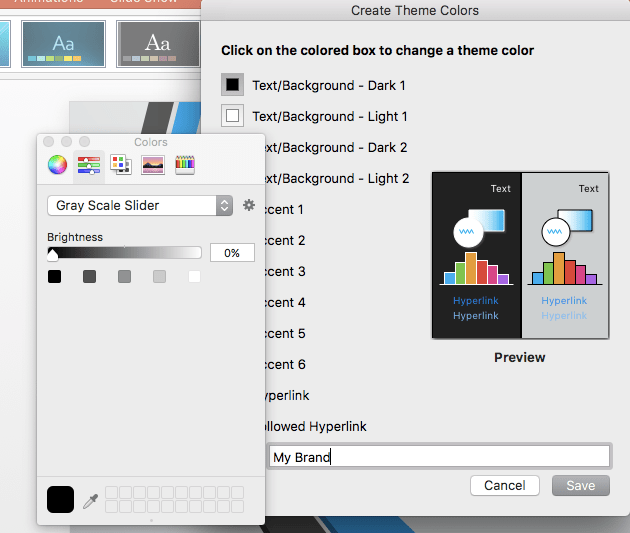
The second option is the slider. This lets you adjust how dark or bright you want the color to be. You can also set the RGB scale to match your brand colors if you have that information. There are series of other sliders in the drop-down menu that you can test out.
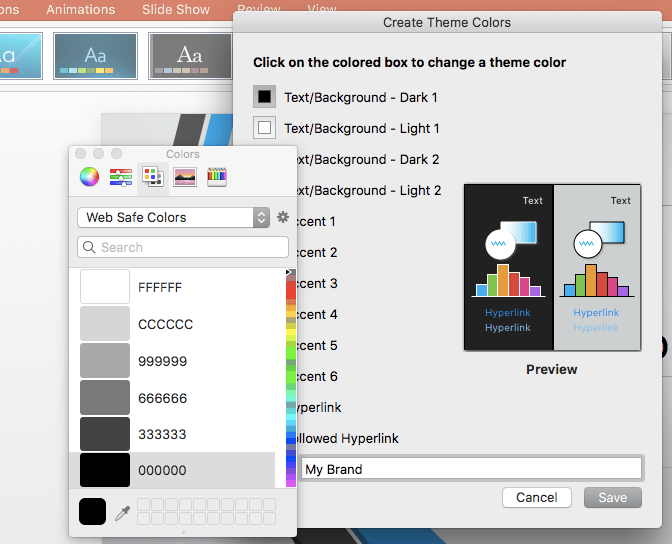
The third option lets you search for a color by name or number. This is useful if your brand guideline includes this information. In the drop-down menu, select web safe colors to search for a color by it’s number. You can also use colors by Apple, Crayon or Developer.
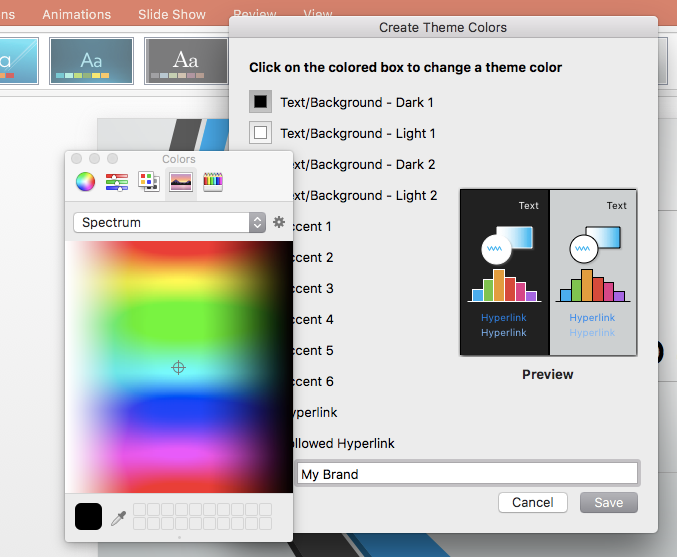
The next option, Spectrum, lets you select a color based off the rainbow image and it saves it to your custom colors.
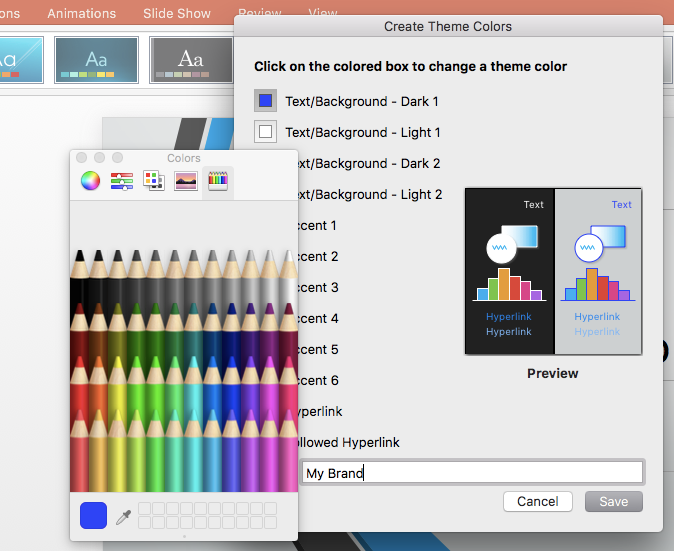
The last option is a set of colored pencils you can choose from. Use whichever option you would like to create a color scheme that is consistent with your brand. Once you are done, name it and save it.
After you hit save, you will see the new color scheme appear on the title slide and all the other slides that follow.
Fonts
Now that the color scheme is applied to all the slides, we can change the fonts. In the same panel that we used for the colors, hit the drop-down arrow and select Fonts. You will see a list populate with all the different font options. Select the font style that closely matches your brand. You will want to use a common font type that can be found on many computers, so that it is easily accessible. You don’t want to use fonts that need to be downloaded because then you will have to download them onto every computer that will be using the presentation.

Layouts
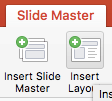
If you want to change the layout of a slide or create a new one, you need to open Slide Master. Select the View tab and select Slide Master. This lets you edit every slide layout in the master file.


The Slide Master lets you create new slide layouts. You can rearrange text boxes, add a Footer, change the slide size and more.
To make a new layout, select Insert Layout. You will see a new slide appear. Then use the Insert Placeholder to select the type of layout you need.
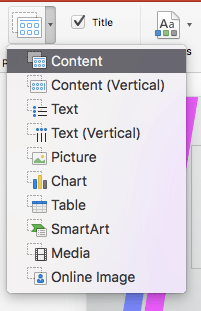
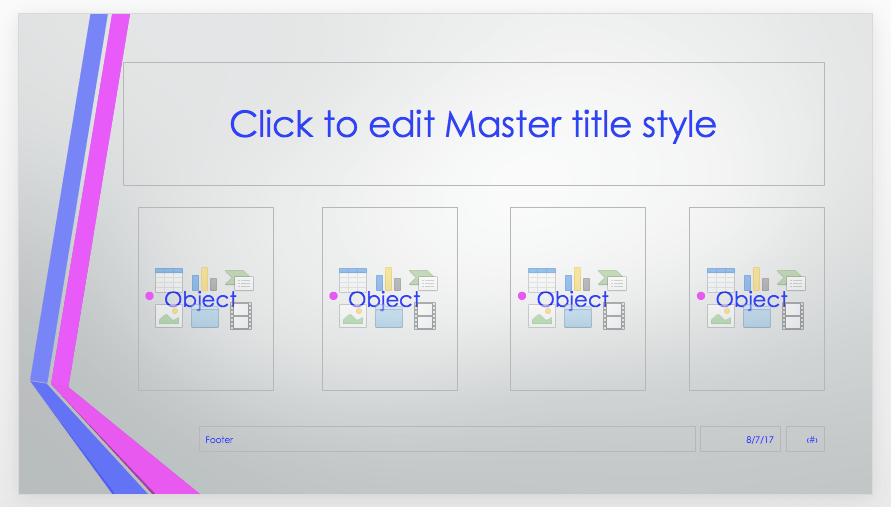
Let’s say you need a slide with four text boxes. Select the Content option from Insert Placeholder. With your mouse, draw out the shape of the text box. Then copy and paste that text box three times, lining them up on the slide. The box will automatically be populated with a bullet point list. You can delete that text out.
Slide Master lets you rearrange the order of the layouts and delete slide layout you don’t think you’ll need. Just select the slide in the left rundown that you want to move or remove.
With Slide Master open, you can change the font sizes to apply to all the slides. You have to do this on the very first slide in the rundown, called the master slide. In the Home tab, change the size of the font for your header box and text box. You will see the changes automatically apply to all the slides.
Images
If you want a logo or image to appear on every slide, you can insert it like you would a normal image. You have to insert the image on the master slide for it to appear on all slides.
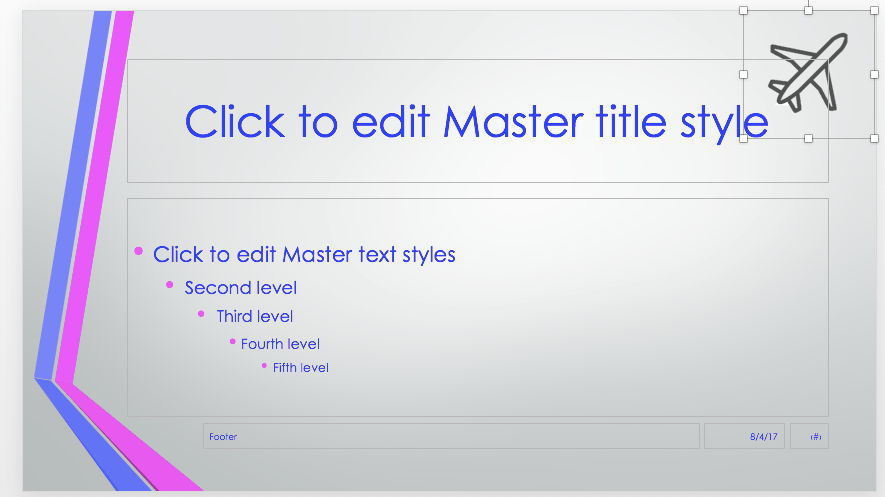
Let’s say your logo is an airplane. You will insert the image onto the master slide and move it to where you would like it to appear. The rest of the slides in your rundown will reflect the changes.
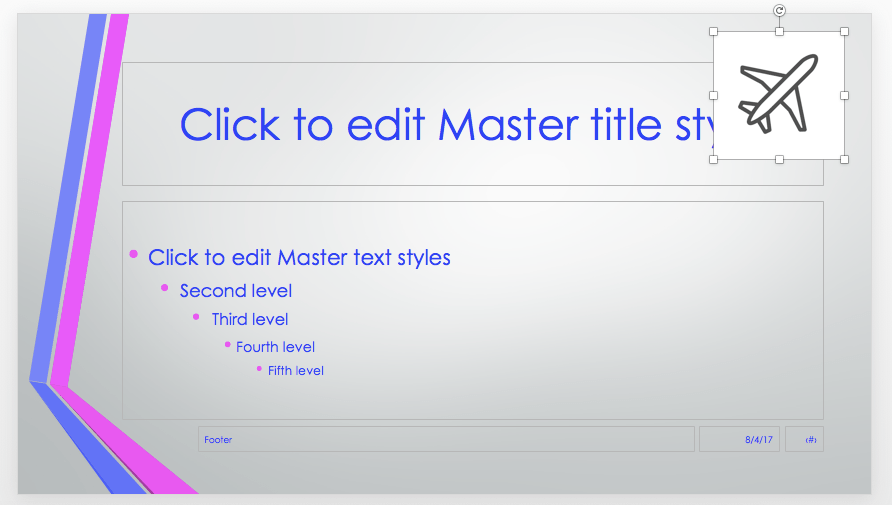
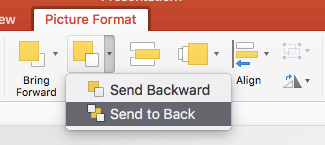
You can see that the plane is on top of the text box and has a white box around it. To move the image behind the text box, select the Picture Format tab. In the arrange functions, select the Send Backward drop-down arrow. From there, select Send to Back.
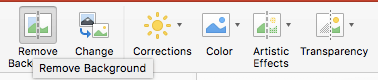
To get rid of the white background on the image, select the Remove Background button on the Picture Format tab. You will see a box pop up with instructions. Trace the box closely around the image and press the Enter button. Now you will see the white background disappear on all the logo images on the slides.
If you only want an image to appear on one or two slides, you simply insert the image the same way but just on the slides you wants. Do not make any changes you don’t want to see on every slide on the master slide.
When you are done working in Slide Master, close it out on the toolbar.

Now you will see all the changes you made appear on each slide layout. Save this branded PowerPoint template as is by going to File, Save As, and naming it.
Your presentations can now be consistent, no matter who is assigned to creating them. If you want to see more options for PowerPoint templates, check out our Template Shop!
Related Posts:
