How To Make Custom Shapes In PowerPoint
You don’t need to be a professional presentation designer to create stunning presentations. Armed with a few PowerPoint tips and tricks, you can easily personalize a boring PowerPoint template with creative design elements, such as custom shapes.
While you don’t want to clutter your slides with unnecessary shapes and embellishments, a few custom design features can help you transform a bland template into an interesting presentation design. Follow the steps below to elevate your presentation design with custom shapes created in PowerPoint. While the tutorial below shows you how to create a basic shape, it also gives you all the information you need to create almost any custom shape in PowerPoint.
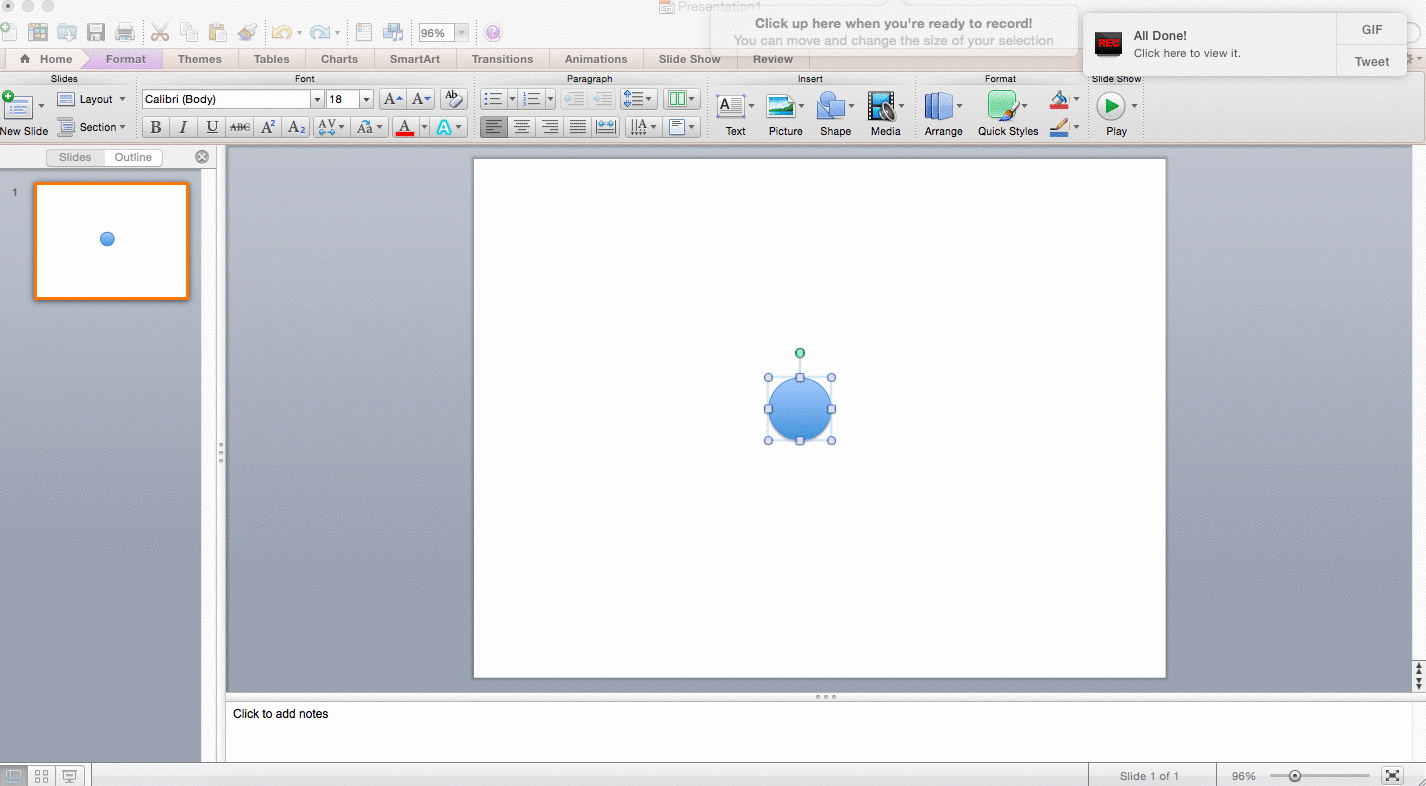
1. Insert Shape
Use the Insert drop down menu to insert a shape.
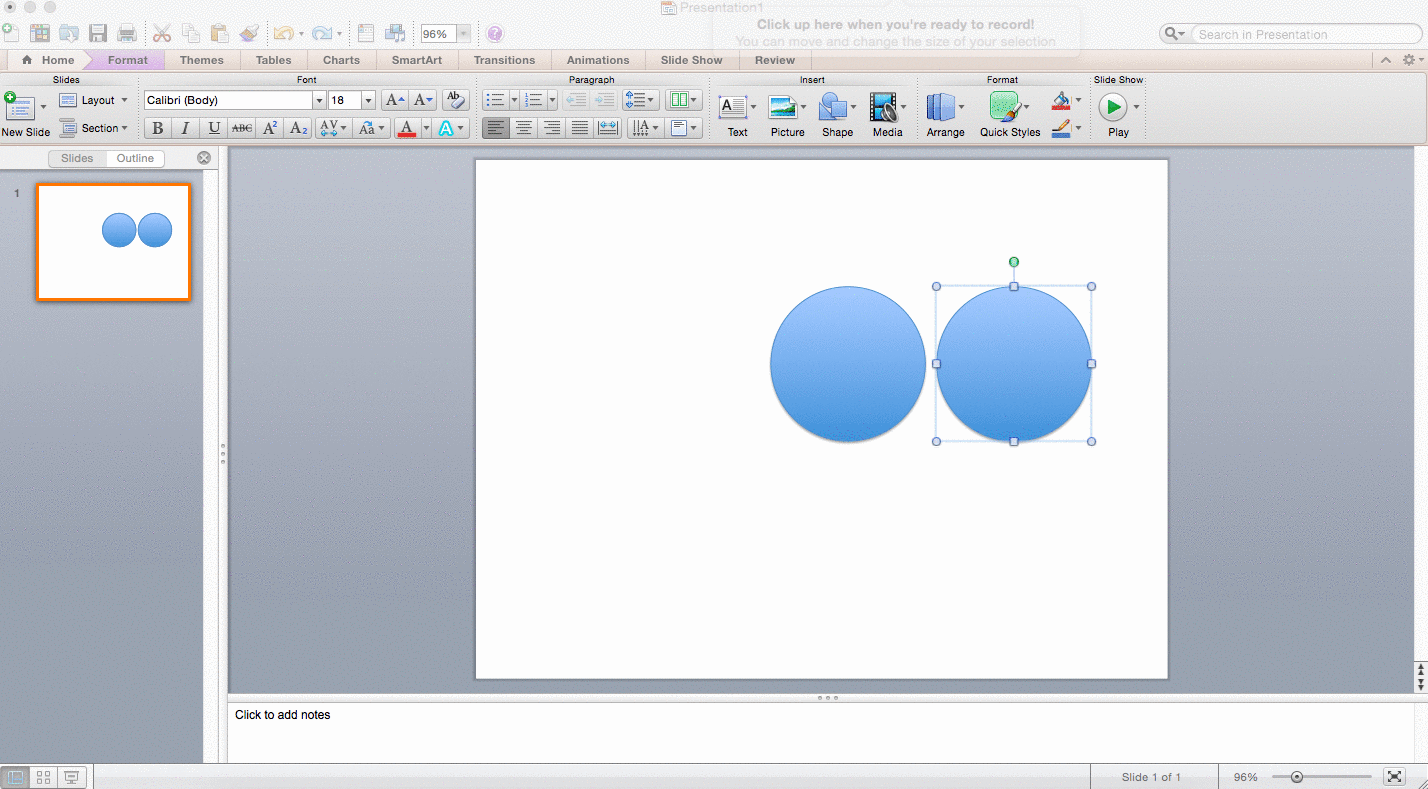
2. Duplicate Shape
Copy and paste the inserted shape to create a duplicate version of the circle.
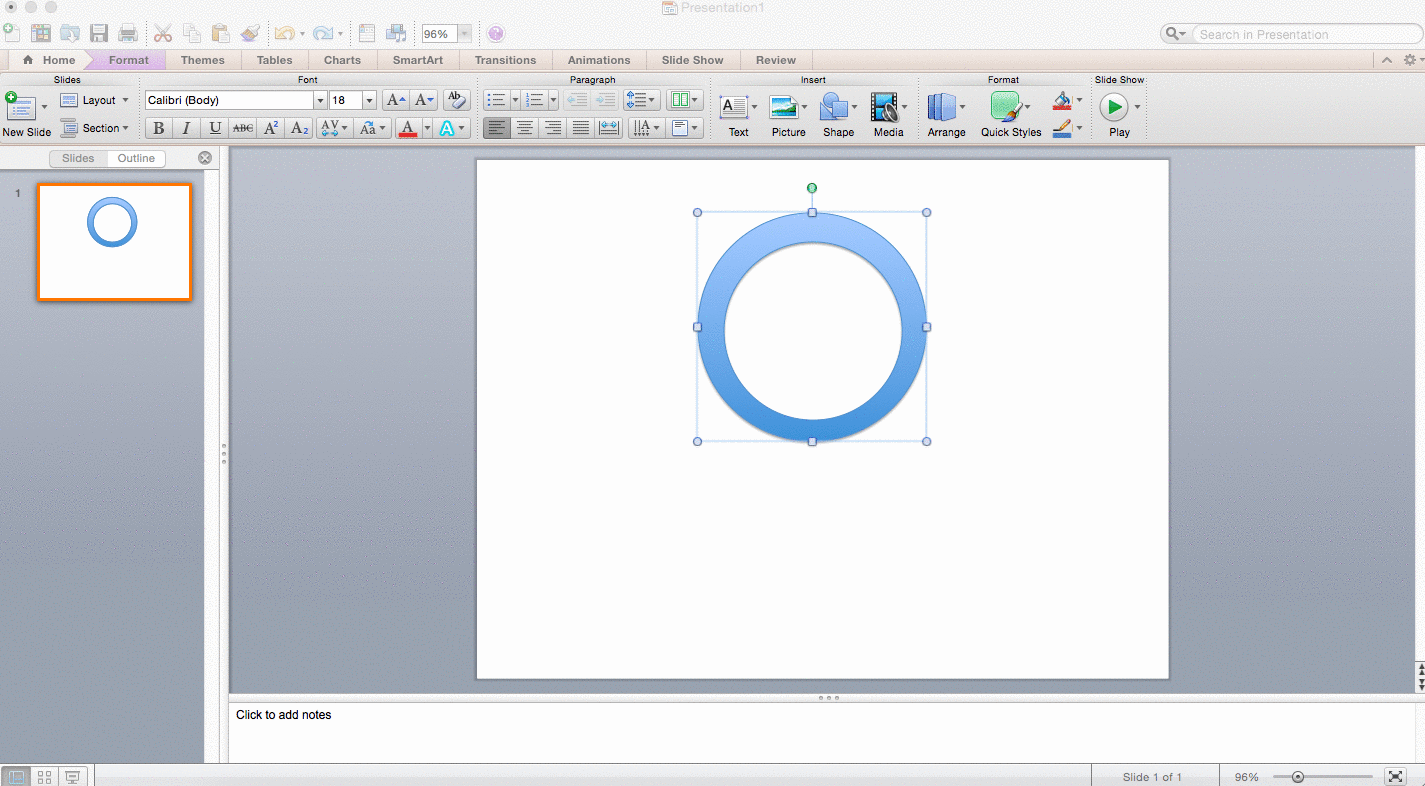
3. Resize the Shape
Resize the copied circle. If you resize it by holding Shift while moving one of the corner handles, the shape will scale it evenly, maintaining the original proportions.
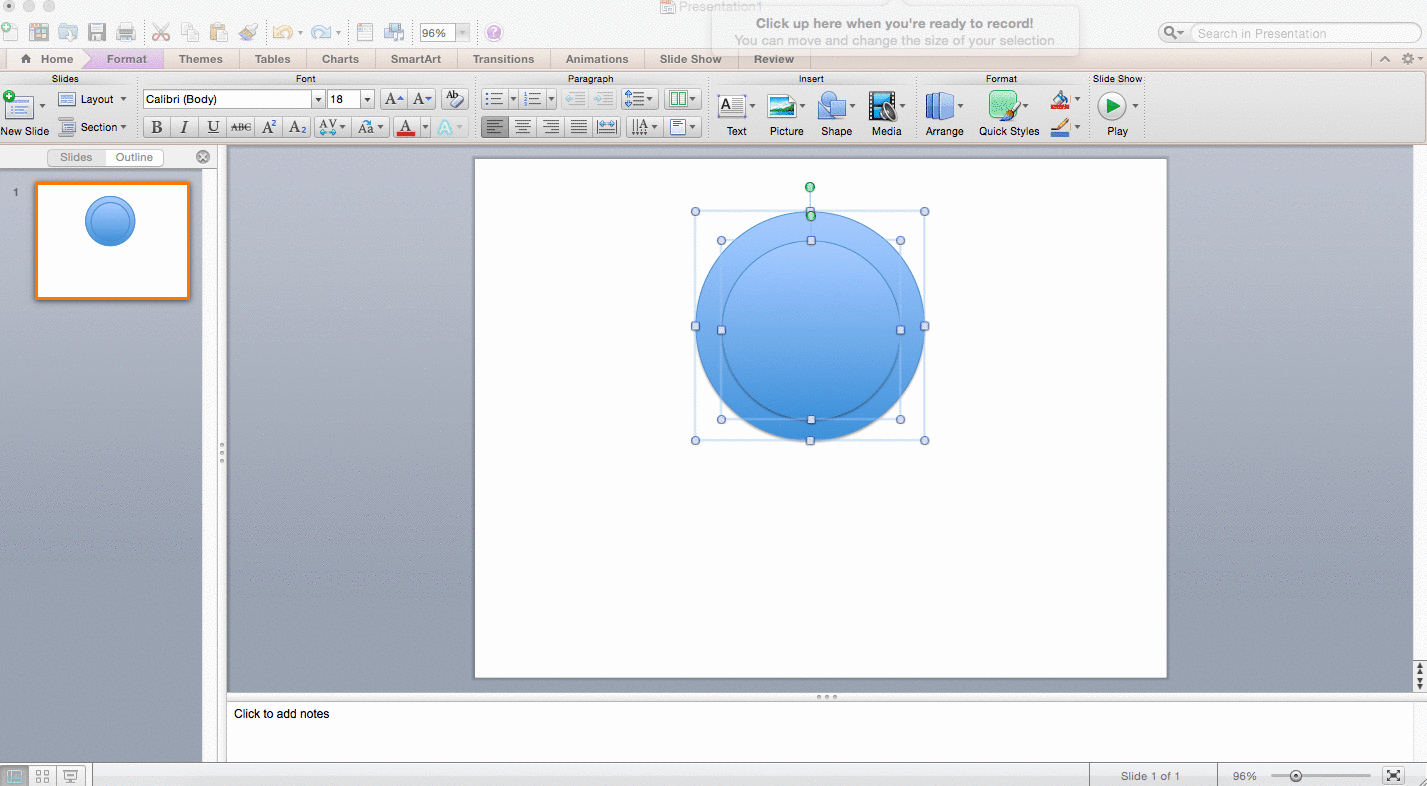
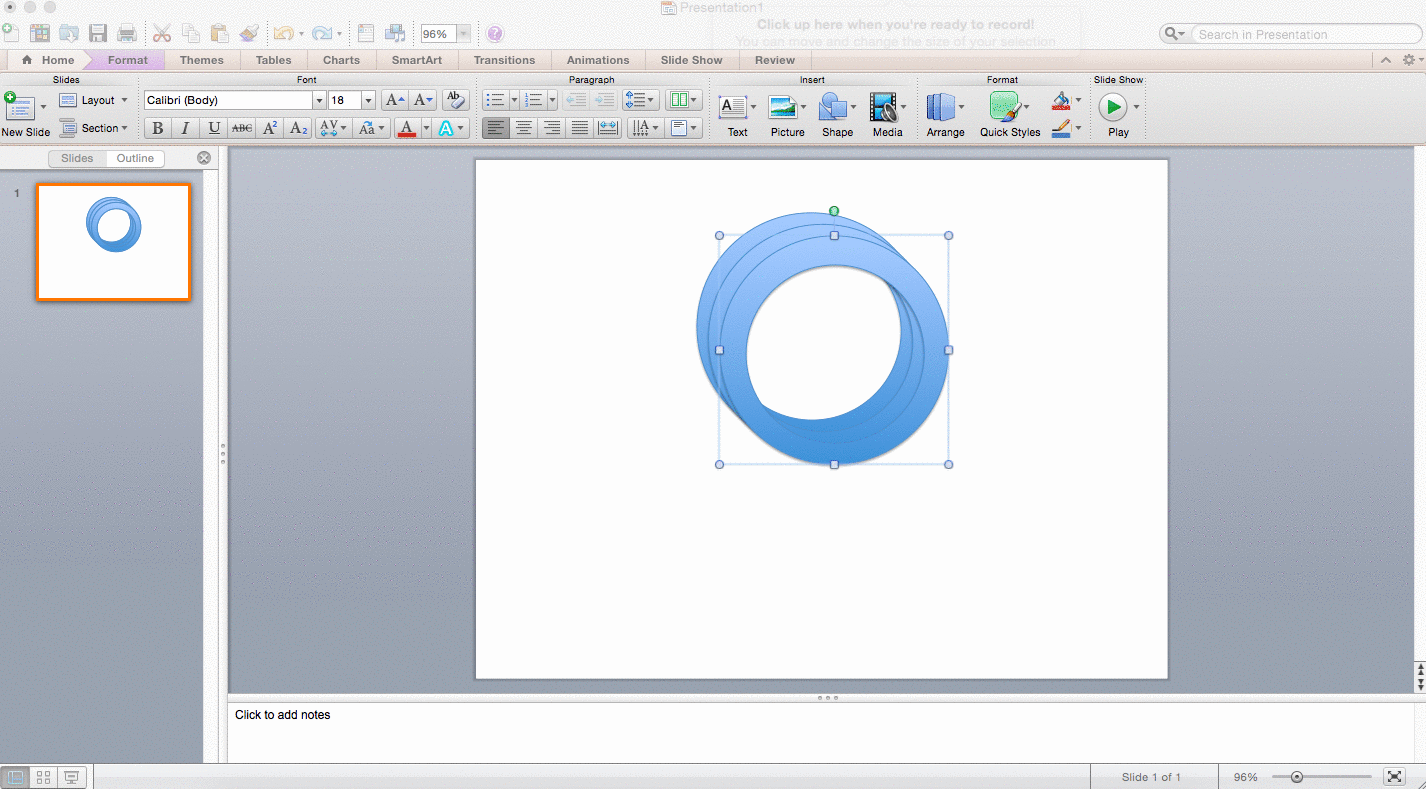
4. Arrange And Group The Shapes
Next, drag the small circle over the large circle. Use the alignment guides to align the circles, so they have the same center. Press Ctrl(or ⌘ if you’re using a Mac) and select the bigger circle first, then the smaller one.
Now that you have two shapes selected, right click on the shape and select Subtract from within the Grouping drop down menu.
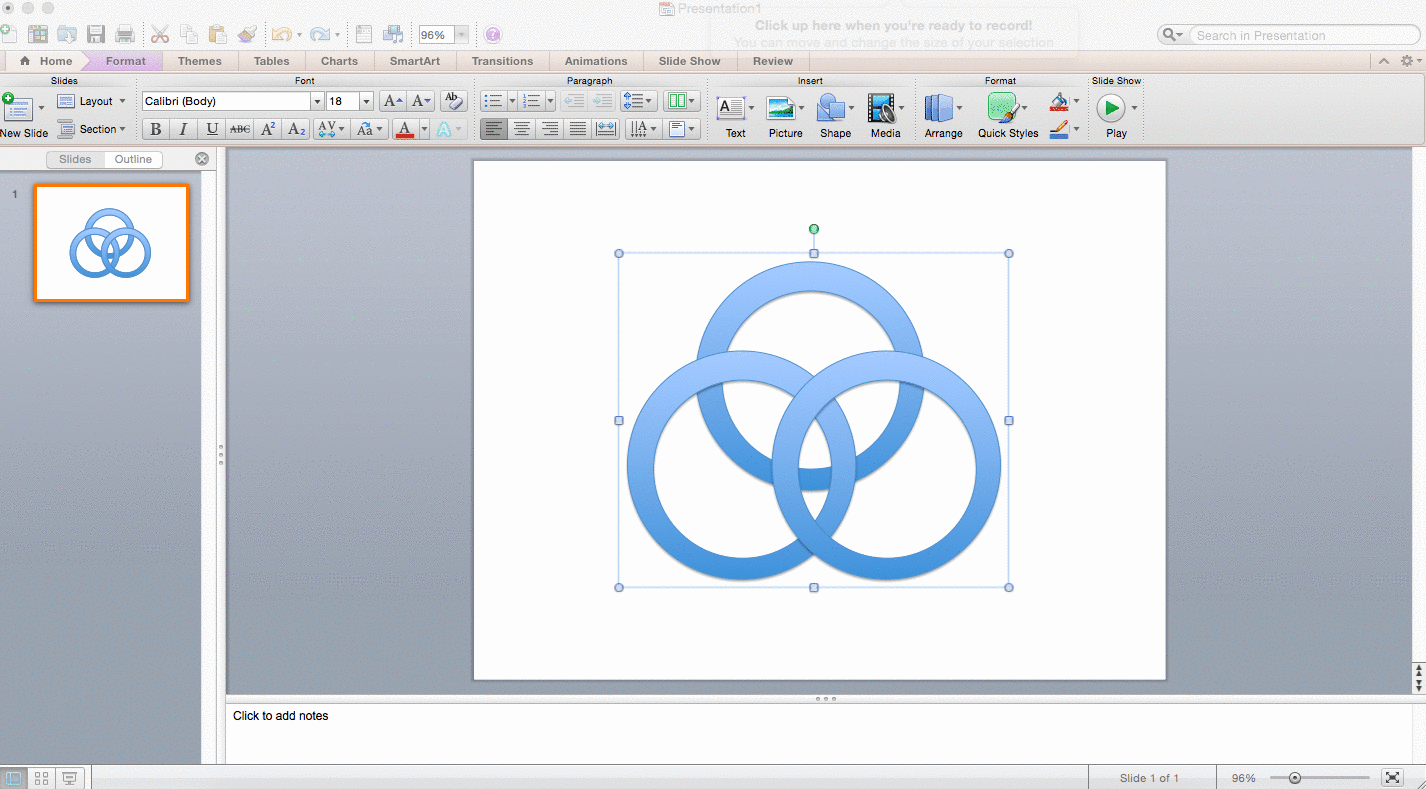
5. Copy Shapes
Copy and paste the custom shape to create a duplicate version of the shape.
6. Finishing Touches
Select all of the shapes. Right click and then select Group from the Grouping drop down menu to merge all of the selected shapes into one shape.
Once all components of the shape are merged, right click the custom shape and select Format Object from the drop down menu. From the Format Object menu, you can format your new custom shape in a variety of ways.
Conclusion
The basic tutorial shown above is just the beginning of the possibilities for creating custom shapes within PowerPoint. For more tips for creating custom shapes in PowerPoint, read this post on the Microsoft blog.
Additional Resources:
PowerPoint Tutorial: Use Color Overlays with Photos
Presentation Design Tutorial: How To Use Photoshop with Powerpoint
How To Turn A PowerPoint Presentation Into A Video

