If you want to know how to turn a powerpoint presentation into a video, you’re not alone. This is a common question.
If you haven’t considered transforming your presentations into videos, you might want to give it some thought. As you will see below, the process is quite simple, and the results can be impressive.
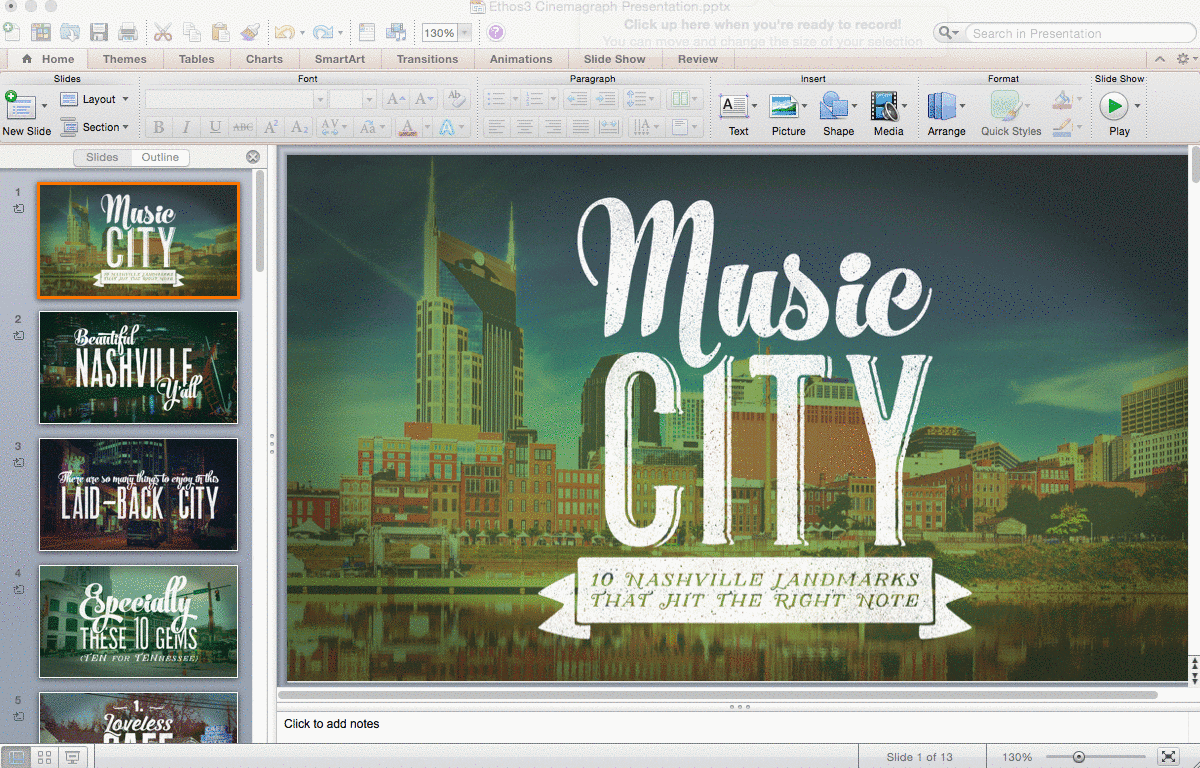
If you created a beautiful, professional presentation, your video will also be beautiful and professional. Your video can also have the added bonus of a soundtrack and narration if you opt for those options.
When you transform your presentations into videos, you dramatically increase the potential ROI for your presentations. Your videos can be used for video marketing on Facebook, YouTube, and other video platforms. In addition, you can use your videos to educate clients, onboard new employees, or inform prospects. The sky is the limit for what you can do with your videos, and also what you can gain from the few minutes you spend transforming your presentations into videos.
The tutorial below was created using PowerPoint 2011, version 14.4.1. If you are using a different version of PowerPoint, don’t worry, there are resources that will benefit you below.
Step #1: Select PowerPoint Transitions
Customize your PowerPoint presentation video by selecting your preferred transition.
As you can see below, selecting transitions is as easy as following a few quick steps:
1. Select the transitions tab at the top of the screen.
2. Click on a transition option to preview the transition style.
3. Once you have determined your preferred transition, click on that transition before proceeding.
4. Next, select the duration for the transition by typing a length of time into the duration box at the top of the screen.
5. When using transitions, I like the transitions to transition through a black slide, especially when using my preferred transition, fade. The through black option creates a cleaner looking fade transition.
– If you want to use this transition feature, select through black from the effect options pull down menu that you can find to the right of the transition options.
6. Next, select the method for advancing slides.
– Slides can either advance after a specified period of time that you set by typing a time in the after box.
– Or, you can set a custom time by clicking the on mouse click option.
7. For most presentations, you will want your preferences to apply to all slides. If your presentation falls into this category, select the all slides option in the right, upper corner.
Step #2: Narration & Custom Timing (optional)
If you want to embed narration in your PowerPoint presentation video, follow the steps below.
When recording your narration, your click through rate will be recorded and utilized for the final video to keep your narration in sync with the progression of slides. If you record narration for only a few of your slides, the click through timing that you selected in Step #1 will be utilized for all slides without narration.
*Before you proceed with the following narration recording steps, move to a quiet location and plug in your best external microphone to record a high-quality narration.
1. Select the slide show tab at the top of the screen.
2. Click on record slide show.
3. Recording starts immediately so be prepared to begin your narration immediately upon clicking record slide show.
4. Once you have recored your narration, you can check the narration for each slide by clicking on the audio symbol in the bottom right corner of slides that have narration.
5. If you want to delete narration for a slide, click on the audio symbol and hit delete on your keyboard.
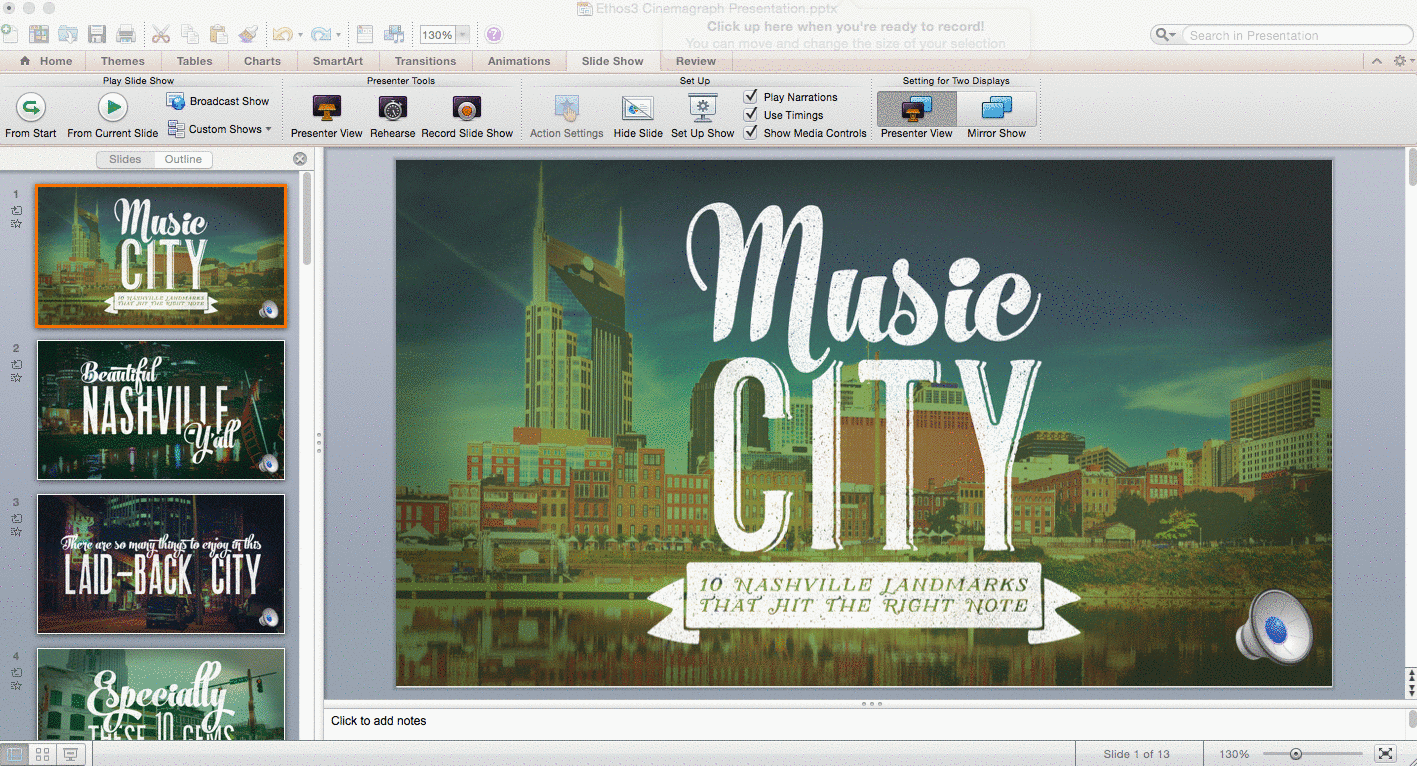
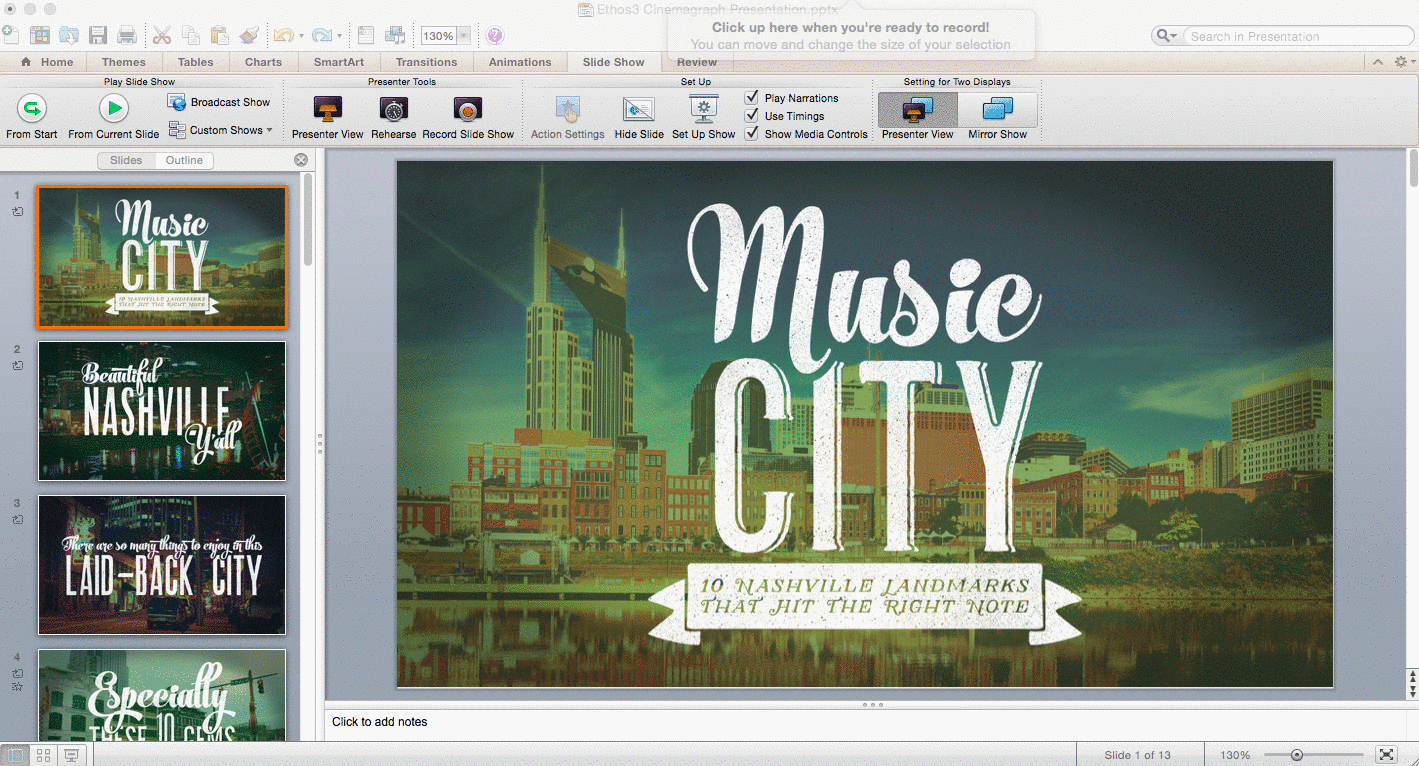
Step #3: Set Up Slide Show
When you set up your slide show, you have a variety of options for customizing your presentation video. Review each option carefully, and maybe even try a few experiments to ensure you get the best look for your final video.
Follow the steps below to add the final touches to your PowerPoint presentation video:
1. Select the slide show tab at the top of the screen.
2. Click on set up show.
3. Customize the settings for your slide show.
– If you recorded narration, make sure the show without narration box is not selected.
– If you used animation, make sure the show without animation box is not selected.
– If you want to create a video with only a few slides from your deck, select your preferred slides in the slides section of the set up show settings box.
– If you set timing for slide advancement, select use timings, if present.

Step #4: Save As Movie
At this point you have made all of the difficult creative decisions. Now you get to quickly save your project as a movie and enjoy reviewing your hard work in action.
To save your presentation as a movie, follow these simple steps:
1. Select the save as movie from the file drop down menu.
2. Click on movie options from within the save box.
3. Movie options gives you the following options:
– Optimization: automatic, size, smooth playback, quality.
– Movie Dimensions: 640 x 480 is the default size; you can also set custom dimensions, or select current screen size.
– Media Settings: follow slide show settings, or none.
– Background soundtrack: if you want to add a soundtrack for your video, this is where you select your preferred background music. If you need background music, check out the YouTube Audio Library; all music in this library is available free of charge.
– You can also choose to loop the movie and show movie player controls
4. Once you have determined all of the above settings, you can choose to apply the settings to the current presentation, or you can choose to use the settings for all new presentations.
5. Click OK and you’re done!
Conclusion
Everyone loves videos, even busy business executives watch online videos regularly.
75% of business executives watch at least one work-related video each week, and 54% of senior executives share at least one work-related video with colleagues every week.
You can also reach the millennial generation with video marketing. Eight out of ten millennials reference videos when researching a product or service. In addition, millennials are 85% more likely than baby boomers to purchase a product or service if they can watch a video explaining it beforehand.
The bottom line: videos are a powerful form of communication. Take advantage of your beautiful presentations and transform them into videos!
If you want to share more sophisticated videos with your clients and prospects, consider motion graphic videos. Check out the potential of motion graphic videos by viewing some Ethos3 examples here.
Additional Resources:
Marketing with Motion Graphic Design Video? 2 Tips for You.
How to Create Killer Blogs, Podcasts, Videos, Ebooks, Webinars (and More)
10 Facts About Visual Content For Digital Marketing
Office Blog: Turn your presentation into a video

